
A Step-by-Step Guide to Installing a 20ft 1MWh BESS in High-Altitude Regions
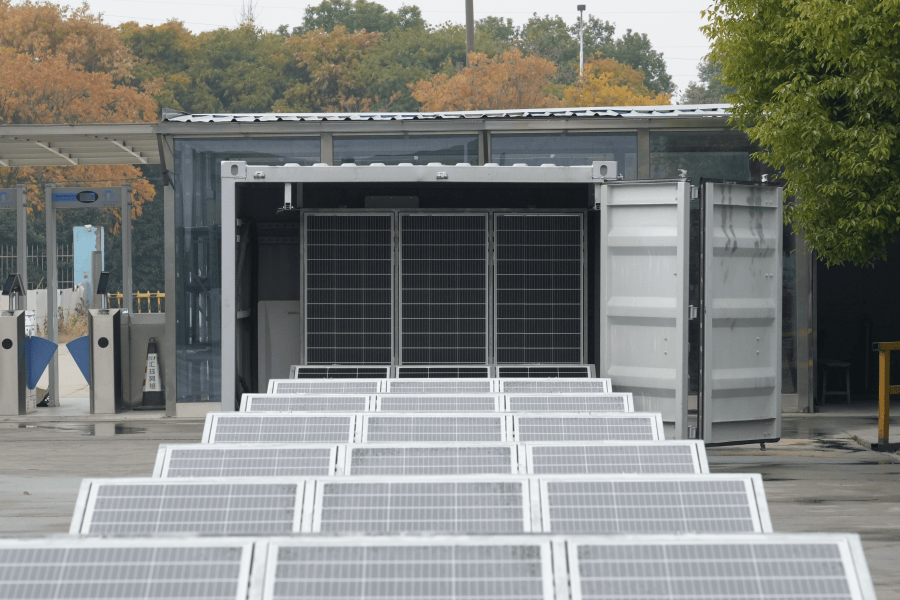
Table of Contents
- The High-Altitude Headache: More Than Just Thin Air
- Why Getting It Wrong Costs You More Than Money
- The Containerized Answer: A 20ft High Cube of Predictability
- The Step-by-Step: From Gravel to Grid-Connection
- Expert Insights: What the Data Sheets Don't Tell You
The High-Altitude Headache: More Than Just Thin Air
So you're looking at deploying a battery energy storage system (BESS) for a solar farm or microgrid up in the mountains, maybe in the Rockies, the Alps, or the Sierra Nevada. On paper, it's straightforward: a 20ft container, some batteries, power conversion systems, and you're good to go, right? Honestly, I wish it were that simple. I've seen this firsthand on site - the real challenge in high-altitude regions isn't just the stunning view; it's a cocktail of environmental and technical factors that standard, lowland deployment guides just don't cover.
The core problem? Most pre-fabricated BESS solutions are engineered and tested for conditions at or near sea level. When you take them up to 2,000, 3,000 meters or more, you're dealing with significantly lower air density and pressure. This isn't just a comfort issue for the crew; it directly impacts the cooling systems that are the lifeblood of your lithium-ion batteries. Air-cooling becomes drastically less efficient, which can lead to hotspots, accelerated degradation, and in the worst case, thermal runaway. According to the National Renewable Energy Laboratory (NREL), effective thermal management is the single largest factor in extending battery lifespan and maintaining safety, a challenge magnified by altitude.
Why Getting It Wrong Costs You More Than Money
Let's agitate that pain point a bit. If you treat a high-altitude BESS installation like any other, you're not just risking a minor performance dip. You're jeopardizing the entire project's financial model. Think about it: premature battery degradation increases your Levelized Cost of Storage (LCOS) C that's your true cost of ownership. A system that overheats may derate its power output (its C-rate) on the hottest days, exactly when you need it most for peak shaving or grid support. That's lost revenue.
Then there's safety and compliance. Local authorities in places like Colorado or Switzerland are increasingly savvy. They'll ask about UL 9540 and IEC 62933 standards, and they'll want to know exactly how your system's safety protocols account for the unique fire risks associated with less efficient cooling at altitude. A generic solution might get a red flag, causing costly delays or requiring expensive retrofits. I've seen projects get stuck in permitting for months over these details.
The Containerized Answer: A 20ft High Cube of Predictability
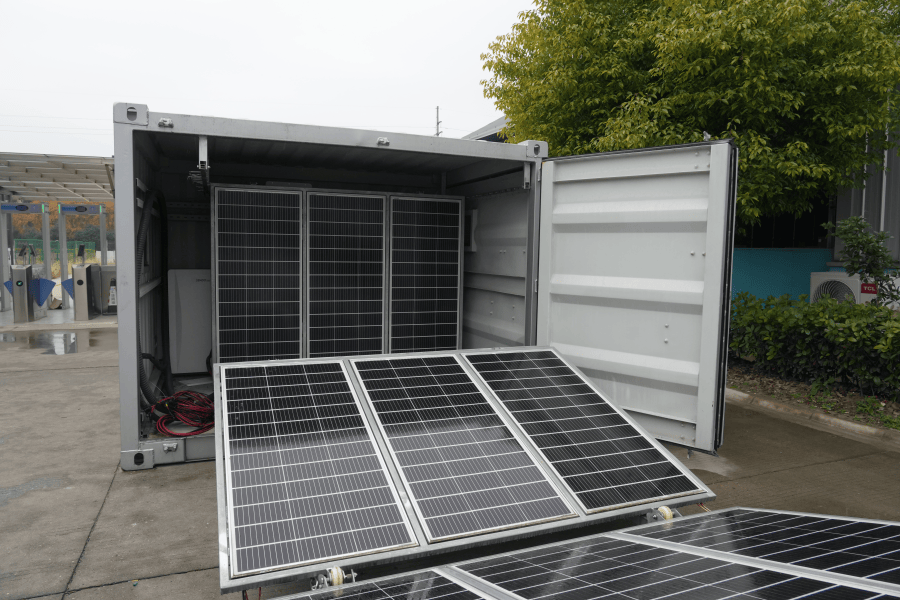
This is where a meticulously planned, step-by-step installation of a purpose-built 20ft High Cube 1MWh solar storage container becomes the only sane solution. The goal isn't to fight the environment, but to create a controlled, predictable micro-environment for your batteries. At Highjoule, we view the container not just as a box, but as a fully integrated, climate-controlled fortress. The installation process is where we lock in that reliability.
For instance, on a project we completed for a ski resort microgrid in the Austrian Alps, the challenge was brutal: -25C winters, rapid summer temperature swings, and an altitude of 2,800 meters. A standard unit would have failed. Our solution started with the installation blueprint, focusing on creating a stable foundation and integrating a hybrid liquid-cooling system specifically rated for low-pressure operation. This upfront, detailed planning is what delivered a system with a 20% better LCOS projection than the client's initial, off-the-shelf quote.
The Step-by-Step: From Gravel to Grid-Connection
So, what does this tailored installation actually look like? Forget the one-size-fits-all manual. Here's the high-altitude adapted sequence:
Phase 1: Site Prep & Foundation (The Critical First 10%)
This is about more than a level concrete pad. We conduct a detailed geotechnical survey to account for frost heave in mountainous regions. The foundation often includes integrated chaseways for cabling and thermal breaks to prevent a cold bridge from forming between the cold ground and the container floor. Proper grounding and lightning protection are also supercharged here - mountain tops are lightning magnets.
Phase 2: Delivery & Positioning
Logistics are key. We coordinate with specialized transport for mountain roads. Upon arrival, the container is positioned using calibrated equipment to ensure perfect alignment with pre-installed conduit and cable trays. This precision saves days of labor later.
Phase 3: Mechanical & Electrical Integration
This is the heart. Crews connect the enhanced thermal management system - validating coolant flow and pressure settings for the altitude. All DC and AC cabling is routed, with extra attention to derating conductors if ambient temperatures are extreme. The power conversion system (PCS) and transformers are connected and set to operate optimally in thinner air.
Phase 4: Commissioning & Compliance Sign-off
We don't just turn it on. We run a full sequence: insulation resistance tests, functional safety tests of the fire suppression system (which uses an agent effective in low-pressure environments), and a graduated charge/discharge cycle to validate thermal performance. Finally, we generate a full report aligning the system's performance with UL and IEC standards, providing the local utility and fire marshal with the confidence they need.
Expert Insights: What the Data Sheets Don't Tell You
Let me share a couple of insights you won't find in a product brochure. First, on Thermal Management: At high altitude, liquid cooling isn't a premium feature; it's a necessity. But it's not just about having it; it's about the control logic. The system must anticipate load changes faster because the thermal buffer (the air) is less effective. We program our systems to be more proactive, not reactive.
Second, talk of C-rate (charge/discharge speed) is often theoretical. In the mountains, the sustainable C-rate is directly tied to your cooling capacity. You might have a 1C battery, but if cooling can only handle 0.7C continuously at that altitude, that's your real limit. Pushing beyond it kills your ROI. Understanding this interplay is crucial for accurate financial modeling.
Finally, the biggest value of a rigorous, step-by-step process isn't just the first day of operation. It's on day 1,825 (five years in). That's when you'll see the divergence between a system slapped in place and one engineered for its environment. The latter will still be hitting its capacity targets, while the former is likely a source of constant headaches and unexpected OpEx.
So, when you're evaluating proposals for your high-altitude project, don't just look at the $/kWh of the box. Drill into the installation plan. Ask how they modify each step for low air pressure and temperature swings. The right partner won't just have an answer; they'll have a checklist, born from on-site experience, that turns a complex challenge into a predictable, bankable asset. What's the one site condition keeping you up at night about your upcoming deployment?
Tags: UL Standard BESS LCOE Europe US Market Thermal Management Renewable Energy High Altitude Installation
Author
James Zhang
20+ years agricultural energy storage engineer / Highjoule CTO