
Step-by-Step Installation of 215kWh Cabinet for 1MWh Solar Storage on Construction Sites
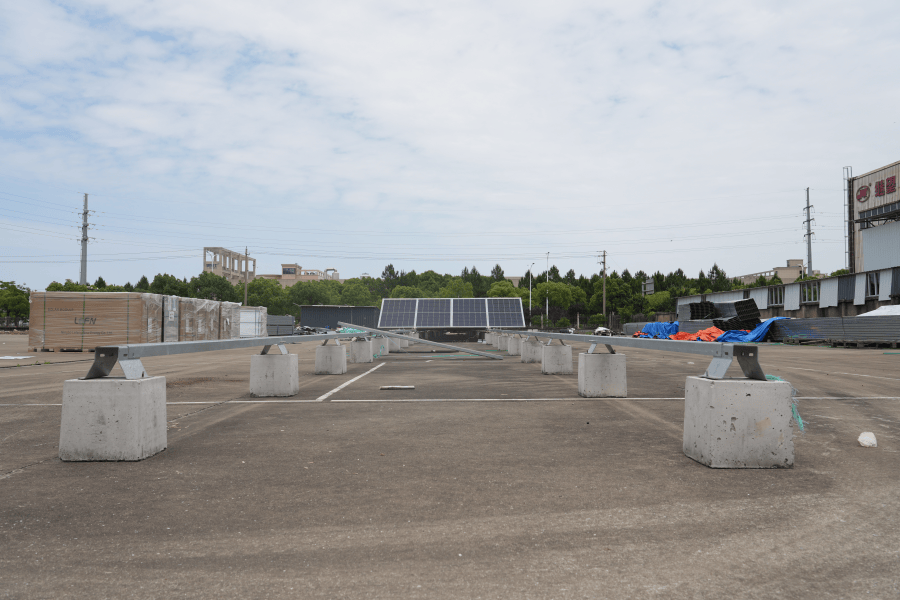
Table of Contents
- The Noise and the Diesel Bill
- Why Modularity is Your Secret Weapon
- The Blueprint: Site Prep and Logistics
- The Step-by-Step Assembly
- The California Case: A Real-World Story
- Beyond Installation: The Long Game
- Ready to Power Your Site Differently?
The Noise and the Diesel Bill
Let's be honest. When you think of powering a remote construction site, what's the first image that comes to mind? The relentless growl of diesel generators, the weekly fuel truck visits, and that ever-climbing line item for "temporary power" on your budget sheet. It's a massive pain point. According to the National Renewable Energy Laboratory (NREL), construction sites can spend up to 40% of their total energy costs on temporary power generation, most of it from diesel. That's not just an expense; it's volatility tied to fuel prices, logistical headaches, and frankly, a sustainability black eye for projects that are otherwise aiming for green certifications.
I've been on sites from Texas to Bavaria, and the story is the same. The foreman is stressed about keeping the lights on for the night pour. The project manager is getting heat from HQ about carbon footprint targets. And the finance team is watching the diesel budget bleed. The problem isn't just the cost - it's the lack of control, the noise pollution for neighboring communities, and the sheer inefficiency of running massive generators at partial load. This is where the old way of thinking about site power hits a wall.
Why Modularity is Your Secret Weapon
This is where the concept of a modular, containerized solar storage system changes everything. Instead of one giant, immobile power block, think LEGO. The goal: a resilient 1MWh solar storage system built from standardized, pre-engineered 215kWh cabinet units. This approach directly tackles the core pain points: flexibility, scalability, and speed.
Why 215kWh cabinets? In my two decades with Highjoule, we've found this size hits the sweet spot. It's large enough to provide substantial energy density (optimizing your LCOE, or Levelized Cost of Energy), yet it's still manageable. Each cabinet is a self-contained unit with its own battery management system, thermal management, and safety controls, all pre-tested to relevant UL 9540 and IEC 62619 standards. This modularity means you can start with what you need - say, two cabinets for the initial site office - and add more as the project scales up to heavy equipment phases. It future-proofs your investment.
The Blueprint: Site Prep and Logistics
Okay, you're sold on the idea. Let's talk about getting it on the ground. The beauty of this system is that 80% of the complex engineering happens in our factory. By the time your cabinets arrive, they are essentially plug-and-play. But a successful deployment lives and dies by site preparation. Here's what we always stress:
- Foundation: A simple, level concrete pad is non-negotiable. We're not talking about a deep foundation - these cabinets are designed for surface mounting. But it must be perfectly level to ensure structural integrity and proper door operation.
- Access & Clearance: Plan for crane or forklift access. Each 215kWh cabinet has a specific footprint and weight. You also need mandated clearance zones around the units for maintenance and safety, which we detail in the installation manual.
- Grid & Solar Interconnection Point: Have your main distribution panel and the conduit runs planned out. If you're coupling this with a temporary solar array (which I highly recommend), have the DC string combiner box location ready. This pre-planning shaves days off the installation timeline.
The Step-by-Step Assembly
Here's the on-the-ground sequence I've overseen dozens of times. It's methodical, safe, and surprisingly fast.
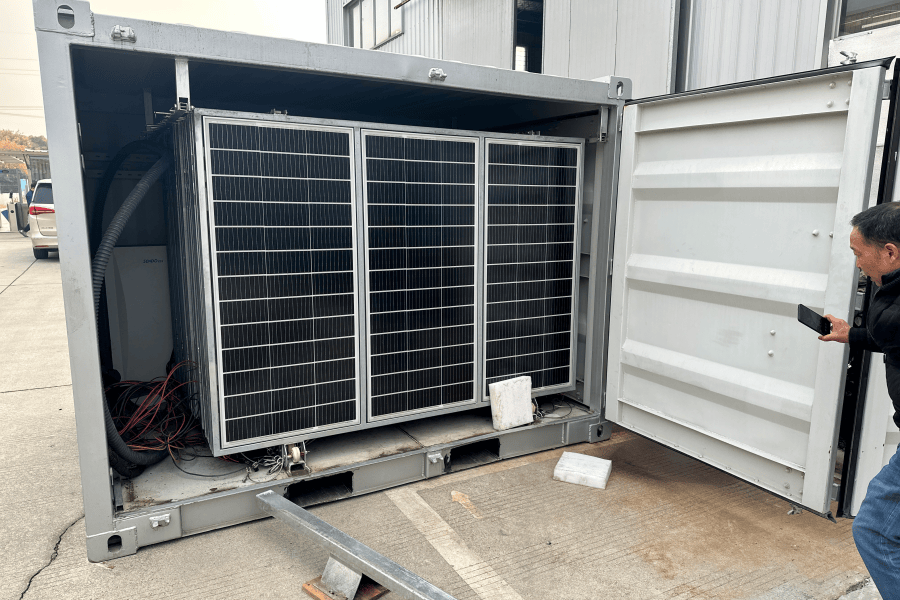
Day 1: Unloading & Positioning. The cabinets arrive on a flatbed. Using a telehandler or crane with the correct rated slings, we position each cabinet onto the prepared pad. The key here is alignment - we use laser levels to ensure all cabinets are in a straight line and perfectly spaced for the inter-unit cabling ducts.
Day 2: Mechanical & Electrical Interconnection. This is the core of the "modular build." Once positioned, we bolt the cabinets together using the integrated flange system. This turns individual units into one solid, integrated structure. Then, we run the heavy-duty busbars and communication cables through the pre-designed channels between cabinets. Honestly, this is where the factory pre-testing pays off. The connections are foolproof.
Day 3: System Commissioning & Go-Live. We connect the master cabinet to your site's main AC distribution panel and to the solar inverter, if applicable. Then comes the software magic. We power up the system controller, input your site-specific load profiles, and run a full system diagnostic. This includes verifying every battery module's communication, testing the thermal management system (crucial for longevity - it's what manages the internal temperature to prevent degradation), and simulating charge/discharge cycles. Within hours, you're taking your first quiet, clean kilowatt-hour from the system.
The California Case: A Real-World Story
Let me give you a real example. Last year, we worked with a large commercial developer on a site in the arid hills of Southern California. The challenge: zero grid connection for the first eight months, strict local noise ordinances, and a mandate to meet CALGreen standards. Their traditional diesel quote was astronomical.
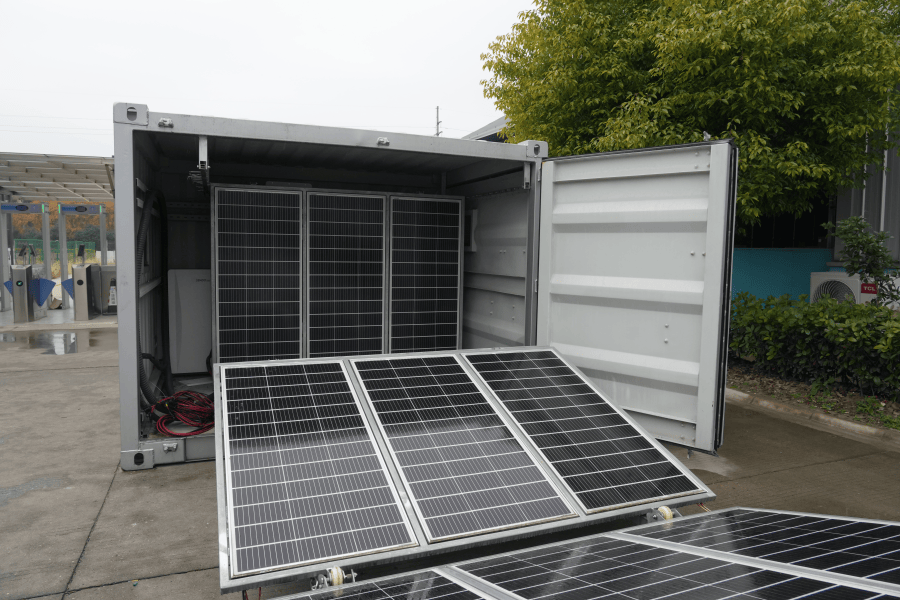
We deployed a 1.15MWh system using five of our 215kWh cabinets, coupled with a 400kW temporary solar canopy. The installation followed the exact steps above and was operational in 72 hours. The result? They eliminated 100% of diesel runtime during daylight hours and cut their nighttime diesel use by over 70%, just using the stored solar energy. The project manager told me the reduction in noise alone improved worker communication and safety on site. The system's C-rate - basically, how fast it can charge or discharge - was perfectly matched to the solar input and the load of their electric tools and site trailers. It wasn't just a power source; it was an optimized energy asset.
Beyond Installation: The Long Game
Installation is just the beginning. The real value of a well-designed system like this is in its operational life. With Highjoule's platform, your site manager can monitor the state of charge, energy savings, and carbon offset in real-time from a phone. More importantly, the modular design has a second life. Once the construction project finishes, the system isn't scrap. It can be decommissioned as easily as it was installed - disconnect, unbolt, and crane onto a truck. These cabinets can then be redeployed at the next site, or even serve as permanent backup power for the finished building. This circularity dramatically improves your total ROI and is a talking point that resonates deeply with European and North American clients focused on ESG.
Ready to Power Your Site Differently?
The shift from diesel dependence to intelligent, modular storage isn't just a technical swap. It's a smarter way to manage risk, cost, and your project's environmental legacy. The technology is proven, the standards are clear (UL, IEC, IEEE), and the step-by-step process is refined from hundreds of deployments. What's the one logistical hurdle on your next project that makes you think a diesel generator might still be "easier"? Let's talk it through.
Tags: Construction Site Power UL Standard BESS LCOE Europe US Market Modular Energy Storage Renewable Energy Solar Storage
Author
James Zhang
20+ years agricultural energy storage engineer / Highjoule CTO