
Step-by-step Installation of All-in-one Integrated Solar Container for Data Center Backup Power
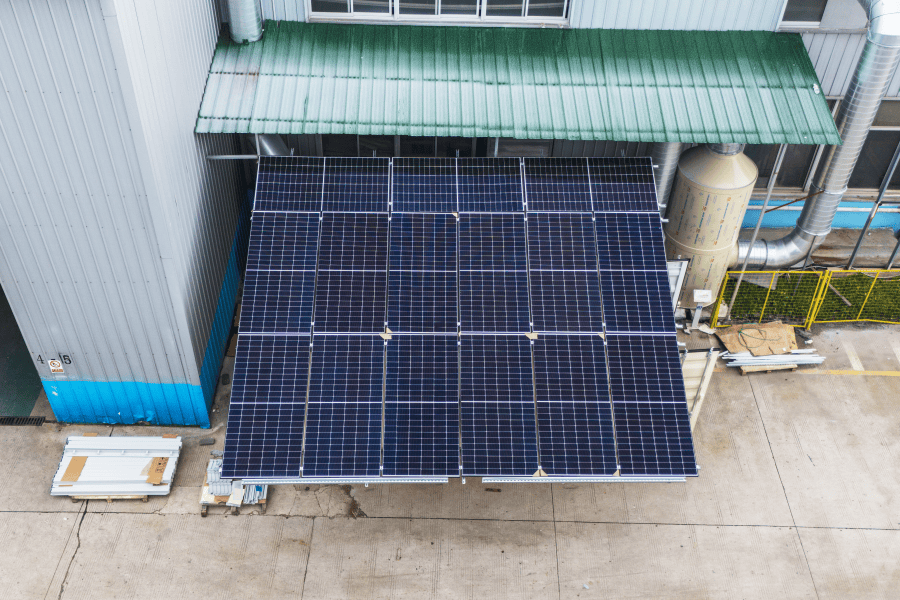
From Blueprint to Backup: A Real-World Guide to Deploying Your All-in-One Solar & Storage Container
Honestly, if I had a dollar for every time a data center manager told me their backup power strategy was a "necessary headache," I'd have retired years ago. The reliance on diesel gensets is more than just an operational cost - it's a logistical beast, a compliance maze, and frankly, a single point of failure that keeps facility managers up at night. I've walked those concrete floors, smelled the diesel, and seen the sheer footprint dedicated to backup infrastructure. The market is screaming for a cleaner, smarter, and more resilient solution. That's where the all-in-one integrated solar container comes in. It's not just a product; it's a paradigm shift. But its value is only unlocked through a correct, efficient, and standards-compliant installation. Let's talk about what that really looks like on the ground.
Quick Navigation
- The Real Problem: More Than Just Space
- Why the Installation Process is Where Projects Stumble
- The Highjoule Method: A Phased, No-Surprises Approach
- A Case in Point: From German Grid Constraints to Reliable Backup
- Key Tech Simplified: What Your Team Needs to Know
- Your Next Steps: Beyond the Installation Manual
The Real Problem: More Than Just Space
We all know data centers are power-hungry. But the backup power challenge in places like Silicon Valley or Frankfurt isn't just about having enough megawatts. It's about grid dependency, space constraints, and evolving sustainability mandates. According to the International Energy Agency (IEA), grid modernization is struggling to keep pace with demand growth, making on-site generation and storage not just nice-to-have, but critical for business continuity.
I've seen this firsthand. A client in Texas had acres of land but faced a 24-month wait for a grid interconnection upgrade to support their new data hall. Their diesel backup plan was a CAPEX and OPEX nightmare. The problem wasn't the technology - it was the deployment model. Traditional BESS and solar setups involve multiple vendors, a spiderweb of civil works, and a compliance headache that can stretch for months.
Why the Installation Process is Where Projects Stumble
Agitating the problem a bit: the industry's dirty secret is that the "balance-of-system" costs and timeline overruns often kill the ROI of a brilliant energy solution. You buy a pre-integrated container, but then you're hit with:
- Foundation Follies: Is it a standard concrete pad? Do you need special seismic anchoring for California's UL 9540A requirements?
- Interconnection Intricacy: The container has a single point of connection, but is your team ready for the utility's witness testing on the integrated transfer switch and protective relays?
- Thermal Management Tango: The HVAC is built-in, but its efficiency depends on proper siting and ambient air flow. I once saw a container placed against a sun-baked west wall, forcing the cooling system to work 40% harder, slicing into the energy yield.
This is where a step-by-step, vendor-supported installation methodology isn't just helpful - it's the difference between a showcase project and a stranded asset.
The Highjoule Method: A Phased, No-Surprises Approach
At Highjoule, we don't just ship containers. We ship a process, refined over hundreds of deployments. Our approach to the Step-by-step Installation of All-in-one Integrated Solar Container for Data Center Backup Power breaks down into four clear phases:
Phase 1: Pre-Site & Foundation (Weeks 1-2)
This is the most critical phase most overlook. We conduct a joint virtual site audit using drone footage and CAD overlays. We're not just looking for a flat spot. We're analyzing:
- Crane access paths for the 40-ft container.
- Underground utility corridors to avoid.
- Sun path analysis for the integrated solar canopy to maximize yield.
The foundation is poured to our exact spec, with embedded conduits and grounding lugs already in place. This precision upfront saves days of corrective work later.
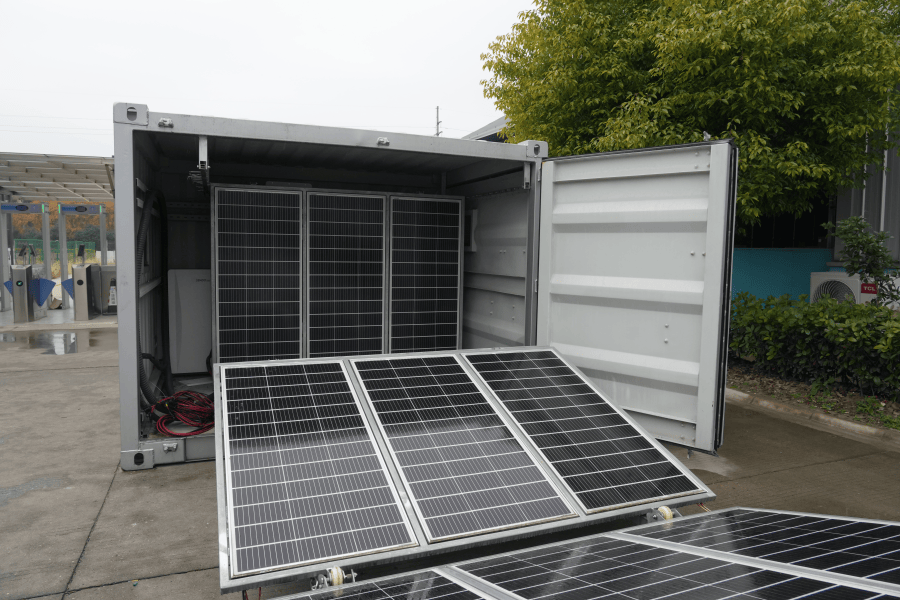
Phase 2: Drop, Connect, & Commission (Week 3)
The container arrives pre-assembled, pre-tested, and certified (UL 9540, IEC 62443 for cybersecurity). On installation day:
- Drop & Set: The container is craned onto the foundation and anchored.
- Single-Point Connection: Our team connects the main power conduit (to your switchgear) and the fiber optic comms line. Honestly, this is the "plug-and-play" moment everyone talks about, but it only works if Phase 1 was perfect.
- Dry Commissioning: We power up the internal systems, run the battery management system (BMS) and energy management system (EMS) self-checks, and verify all safety protocols.
Phase 3: Grid Sync & Wet Testing (Week 4)
With the utility present, we perform the integrated system tests:
- Automatic transfer switch (ATS) functionality under simulated grid loss.
- PV integration test - verifying the solar canopy charges the batteries and supports the load.
- Full-load discharge test to validate runtime calculations.
This phase is where our deep familiarity with IEEE 1547 and local utility requirements ensures a smooth sign-off, not a frustrating back-and-forth.
Phase 4: Handover & Monitoring (Ongoing)
We don't leave. You get access to our 24/7 cloud-based monitoring platform, and our local service partners are briefed on your system. The key here is knowledge transfer - your team understands the system's normal "vitals," so you can operate with confidence.
A Case in Point: From German Grid Constraints to Reliable Backup
Let me give you a real example. A cloud provider in North Rhine-Westphalia, Germany, faced strict limits on new grid draw due to local congestion. They needed backup for a 2 MW data hall but couldn't increase their grid contract. A diesel solution was politically and environmentally untenable.
Challenge: Provide 4 hours of backup, reduce grid dependency, and meet Germany's stringent VDE/FNN standards, all on a tight site with limited crane access.
Solution & Installation: We deployed two of our 1 MW/2 MWh all-in-one containers with integrated solar canopies. The step-by-step process was crucial:
- We used a smaller "crawler" crane to navigate the tight site, a decision made during our pre-site audit.
- The integrated design meant the local utility treated it as a single generating unit, simplifying the grid connection agreement.
- The solar canopy, though not the primary power source, now offsets about 15% of the container's own auxiliary load, improving the overall Levelized Cost of Storage (LCOS).
The system passed inspection on the first try and is now their primary backup, with the gensets relegated to tertiary, long-duration backup. The facility manager told me the predictability of our installation timeline was as valuable as the technology itself.
Key Tech Simplified: What Your Team Needs to Know
You don't need to be an engineer, but understanding a few concepts helps you buy and deploy smarter:
- C-rate (Charge/Discharge Rate): Think of it as the "speed" of the battery. A 1C rate means a 2 MWh battery can discharge 2 MW in 1 hour. Our containers are typically configured at a 0.5C-1C rate, optimized for the multi-hour discharge data centers need, not grid-frequency response. It's about right-sizing for the duty cycle.
- Thermal Management: This is the unsung hero. Lithium-ion batteries hate being too hot or too cold. Our system uses a liquid-cooled, closed-loop system. I explain it to clients as the battery's own "precision air conditioning." It maintains the perfect temperature uniformly, which is why we can guarantee performance and longevity even in Arizona heat or Nordic winters.
- LCOE/LCOS (Levelized Cost of Energy/Storage): This is your true north metric. It's the total lifetime cost divided by the energy output. A streamlined installation directly lowers LCOS by reducing soft costs (engineering, labor, financing time) and improving system uptime from day one. The integrated container model, done right, delivers a best-in-class LCOS.
Your Next Steps: Beyond the Installation Manual
So, where does this leave you? If you're evaluating backup power, the question is no longer just "what does it cost per kWh?" but "how does it get from the port to providing resilient power on my timeline?"
The step-by-step installation process is the bridge between a promising spec sheet and a reliable, revenue-protecting asset. Ask your potential suppliers not just for datasheets, but for their project deployment playbook. Ask for their most recent utility interconnection checklist. Ask to speak to a project manager who's done it in your region.
At Highjoule, we're happy to share that playbook. Because we know that when we make the installation process transparent and predictable, we're not just installing a container - we're building trust and ensuring your data center stays online, no matter what. What's the single biggest hurdle you anticipate in your next backup power project deployment?
Tags: UL Standard BESS Data Center Backup Power Renewable Energy Solar Container Installation
Author
James Zhang
20+ years agricultural energy storage engineer / Highjoule CTO