
Step-by-Step Installation of Tier 1 Battery Cell Hybrid Solar-Diesel System for Industrial Parks
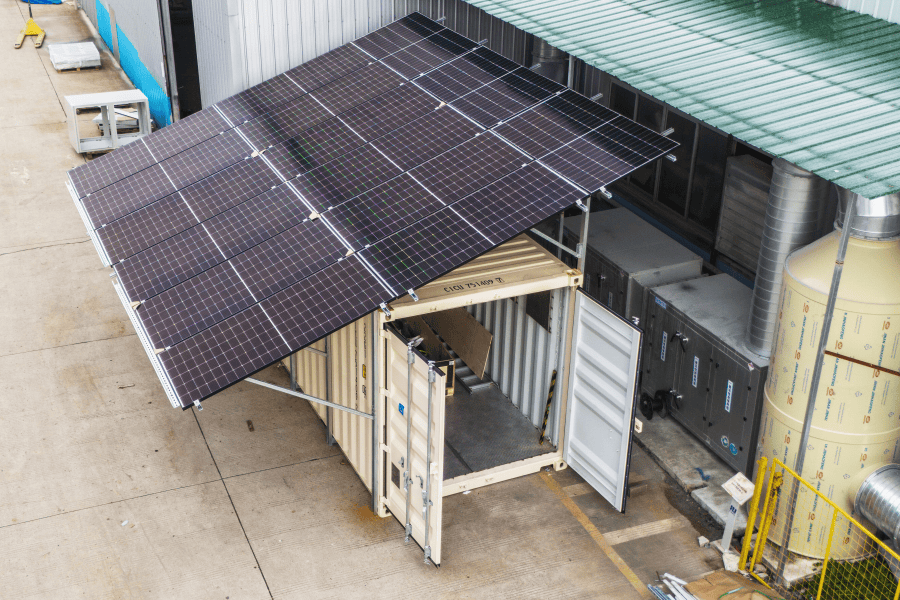
Contents
- The Planning Pitfall: Why Good Intentions Aren't Enough
- Step 1: The Right Foundation - It's More Than Concrete
- Step 2: The Heart of the System - Unpacking Tier 1 Cells
- Step 3: Bringing It to Life - Integration & Commissioning
- Beyond Installation: The Real Work Begins
The Planning Pitfall: Why Good Intentions Aren't Enough
Honestly, if I had a nickel for every time I've walked onto an industrial site and seen a brand-new battery container sitting idle, waiting for the "final connection," I'd be writing this from my private island. The ambition is there. The CFO is on board for energy savings and backup power. The solar panels are gleaming. But the critical bridge between purchase and power - the actual, boots-on-the-ground Step-by-step Installation of Tier 1 Battery Cell Hybrid Solar-Diesel System for Industrial Parks - gets treated like an afterthought. This isn't just a delay; it's where budgets bleed and safety risks silently creep in.
The pain point isn't wanting a hybrid system - it's deploying it correctly, safely, and profitably from day one. I've seen firsthand how a vague "just hook it up" approach leads to integration headaches, voided warranties on premium Tier 1 cells, and even compliance red flags with local inspectors. According to the National Renewable Energy Laboratory (NREL), proper system design and installation can impact the long-term Levelized Cost of Energy (LCOE) of a BESS by over 30%. That's the difference between a project that's a shining success story and one that becomes a cautionary tale whispered about at industry conferences.
So, let's grab a coffee and talk through what a real, professional installation looks like. Forget the glossy brochures for a minute; let's talk about conduit, torque wrenches, and thermal management.
Step 1: The Right Foundation - It's More Than Concrete
You wouldn't build a factory on sand, right? The same goes for your energy resilience hub. The first, and most underestimated, step is site preparation and infrastructure.
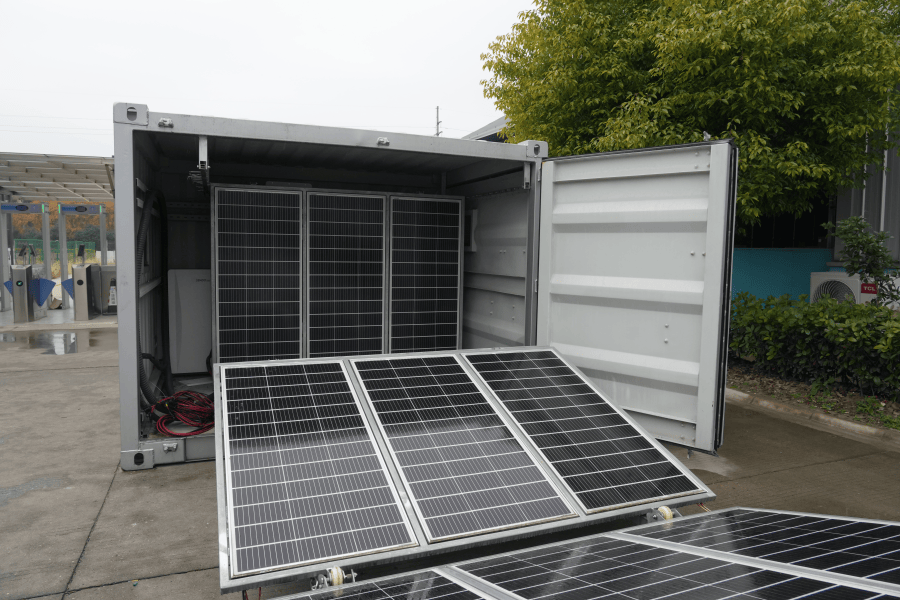
This goes beyond pouring a level slab. We're talking about:
- Access & Clearance: Can a crane and flatbed truck safely access the spot? What's the overhead clearance? I once spent three days re-routing overhead power lines because nobody checked that during the site survey.
- Utility Interconnection Point: This is the make-or-break with your utility. The distance and pathway from your main switchgear to the BESS location directly dictate cable costs and power losses. Early engagement with your utility is non-negotiable.
- Environmental Considerations: Is the site in a flood zone? What's the ambient temperature range? For example, a project we completed in Texas required a specialized HVAC specification for the BESS container to handle 110F+ summer days without derating the system. That's not an add-on; that's core to the Step-by-step Installation plan.
At Highjoule, our site audit includes a civil engineer who thinks like an electrician, and an electrician who understands civil plans. This overlap is where we catch 90% of future headaches before a single shovel hits the ground.
Step 2: The Heart of the System - Unpacking Tier 1 Cells
Now, the exciting part: the battery containers arrive. "Tier 1" gets thrown around a lot, but on-site, it means one thing: predictable, high-quality performance and traceability. But a premium cell in a poorly installed rack is a wasted investment.
The key here is handling and assembly with surgical care:
- Receiving & Inspection: Every module is visually inspected for shipping damage. Serial numbers are logged against the shipping manifest and our project database. This traceability is crucial for warranty and future maintenance.
- Thermal Management System (TMS) Integrity: Before a single cell is powered, the coolant loops (for liquid-cooled systems) or air ducting is pressure-tested. A leak discovered after commissioning is a project-stopper.
- Torque Specifications: This is my biggest on-site pet peeve. Every electrical connection - from the massive DC busbars linking modules to the communication terminals - has a manufacturer-specified torque value. Using an uncalibrated wrench or "feeling" it tight is a direct path to hot spots, arcing, and failure. We use digital, logged torque tools for every critical connection. It's meticulous, but it's what separates a safe, durable installation from a risky one.
Think of the C-rate - the speed at which a battery charges or discharges - like the engine RPM in a truck. A Tier 1 cell is designed to handle its rated C-rate efficiently. But if the electrical connections are resistive due to poor installation, the system can't deliver that power cleanly. You're not getting what you paid for.
Step 3: Bringing It to Life - Integration & Commissioning
This is where the solar inverter, the diesel genset, the existing plant load, and the new BESS learn to speak the same language. It's not magic; it's meticulous software configuration and testing.
Take a project we did for a food processing plant in Germany. Their challenge was to use solar during the day, avoid peak grid tariffs, and have the diesel generator kick in only as a last resort during a grid outage. The sequence of operations - the "brain" of the hybrid system - had to be flawless.
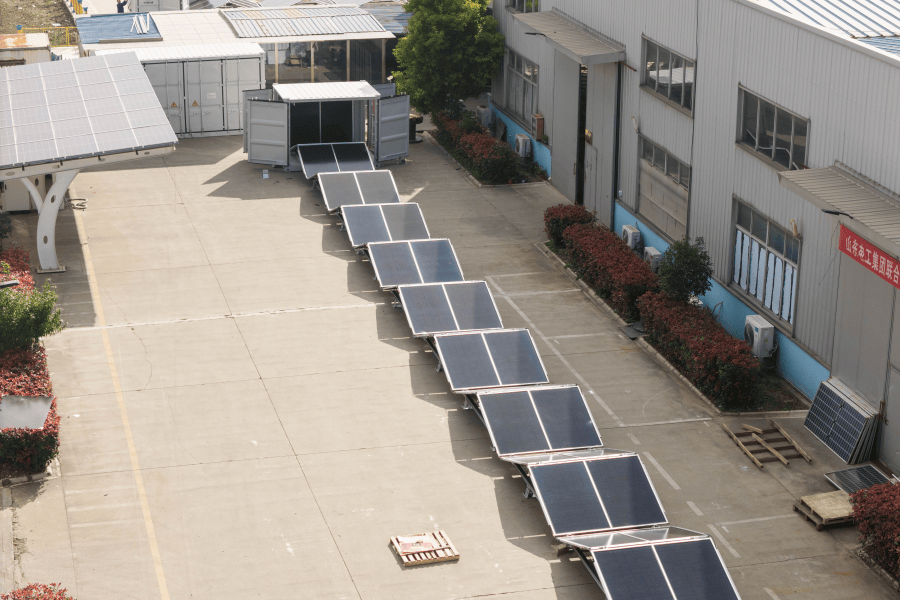
The Step-by-step Installation here involves:
- Point-to-Point Checkout: Verifying every signal from every device (e.g., "Generator Running," "Grid Available," "SOC 80%") reaches the master controller correctly.
- Functional Testing in Isolated Modes: We test the BESS alone, the solar alone, the generator alone. Then we test handoffs: Solar to Battery, Grid to Generator, etc. Each transition is logged and verified for seamless load transfer.
- System Optimization Run: Finally, we let the system run its algorithm for a set period, fine-tuning parameters to minimize fuel use and maximize solar self-consumption. This is where the promised LCOE savings start to materialize on the monitor.
Our controllers are pre-loaded with UL and IEC-compliant logic templates, but the real value is in the field adaptation by engineers who understand both the code and the concrete reality of your facility's load profile.
Beyond Installation: The Real Work Begins
Here's the truth nobody likes to admit: the installation is just the birth of the system. Its 15-20 year life is determined by what happens next. A static "set-and-forget" mindset is the quickest way to erode your ROI.
That's why our process doesn't end at commissioning. We view the Step-by-step Installation as the first phase of a long-term partnership. It includes:
- Staff Training: We don't just hand over a manual. We train your on-site engineers on how to read the system alerts, perform basic health checks, and understand what normal operation looks like.
- Predictive Analytics: Our connected systems (with full client permission) feed anonymized performance data into our platform. We can often spot a underperforming string or a slight deviation in cooling efficiency before it becomes a fault, prompting a proactive service call.
- Localized Spare Parts Strategy: For our key markets in the US and EU, we maintain critical spares locally. This isn't just about service; it's about minimizing your downtime risk, which for an industrial park, is the ultimate metric.
The goal isn't just to sell you a box of batteries. It's to ensure that box becomes the most reliable, profitable, and hassle-free part of your energy infrastructure for its entire life. So, when you're evaluating proposals, ask the installer to walk you through their actual step-by-step process. The detail in their answer will tell you everything you need to know.
What's the single biggest uncertainty your team is facing in planning your hybrid system installation?
Tags: UL Standard BESS Europe US Market Solar-Diesel Hybrid Industrial Energy
Author
James Zhang
20+ years agricultural energy storage engineer / Highjoule CTO