
Step-by-step Installation of IP54 Outdoor Pre-integrated PV Container for Agricultural Irrigation
Contents
- The Silent Cost of Unreliable Power on Your Farm
- Why Traditional Solar-Plus-Storage Falls Short for Agriculture
- The Game-Changer: The Pre-Integrated Container Approach
- A Real-World Walkthrough: From Delivery to First Drop
- The Expert Corner: Beyond the Bolts and Wires
- Your Next Step: Is This Right For Your Operation?
The Silent Cost of Unreliable Power on Your Farm
Let's be honest. When you think about farm irrigation, you're thinking about water, soil, and crops. Electricity is just the silent, often frustrating, utility in the background. Until it isn't there. I've been on sites in California's Central Valley and across the German countryside where a grid outage during a critical irrigation window didn't just mean a delay - it meant a direct hit to yield and revenue. The problem isn't just outages; it's the volatile, often expensive peak-time tariffs that make pumping water a major operational cost.
The dream of pairing solar panels with a battery to become energy-independent is powerful. But for many farm managers and agribusiness owners I talk to, the reality of deploying that technology feels daunting. Permitting, space, complex system integration, worrying about safety and durability in an outdoor, dusty environment - it's enough to make anyone stick with the status quo, despite the cost.
Why Traditional Solar-Plus-Storage Falls Short for Agriculture
Here's the agitation part. The traditional approach - buying solar panels, inverters, battery racks, and a climate control unit separately, then having an integrator piece it all together on-site - is fraught with hidden challenges for agricultural use.
- Time & Complexity: A typical field integration can take weeks. You're coordinating multiple vendors, dealing with weather delays, and your land is a construction site.
- Durability Concerns: An IP54 rating (protection against dust and water jets) isn't a nice-to-have for a farm; it's a necessity. Achieving that with a site-built system is harder and more expensive.
- Safety & Standards: Meeting local codes like UL 9540 for energy storage systems and IEEE 1547 for grid interconnection is critical. A miss in the field can mean costly rework or, worse, a failed inspection.
- Long-Term Costs: According to a 2023 NREL report, balance-of-system (BOS) and soft costs can make up over 50% of a storage project's price. Much of that is in the on-site labor and engineering.
I've seen firsthand on site how these pain points turn a promising project into a stressful, budget-blowing ordeal. The promise of lower energy costs gets eaten up by installation complexity.
The Game-Changer: The Pre-Integrated Container Approach
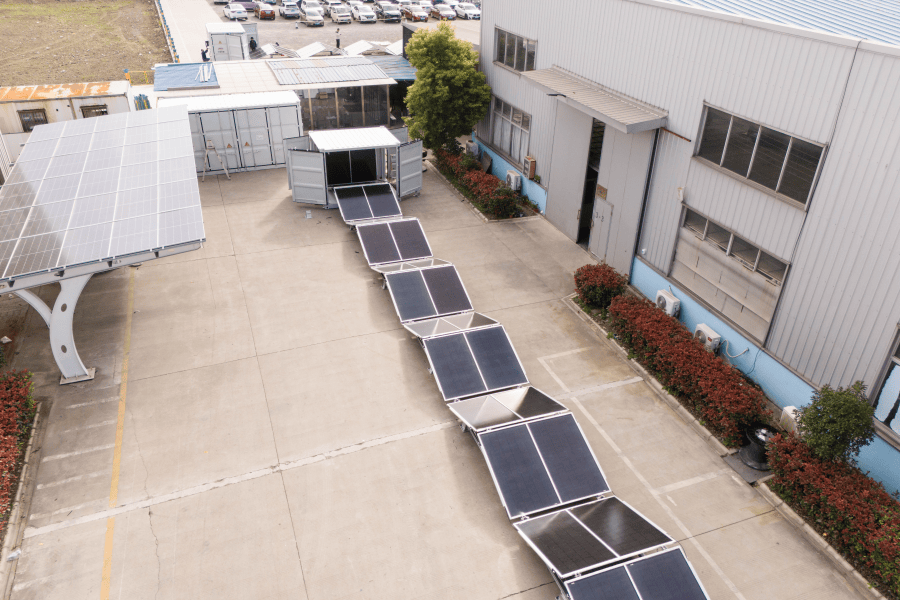
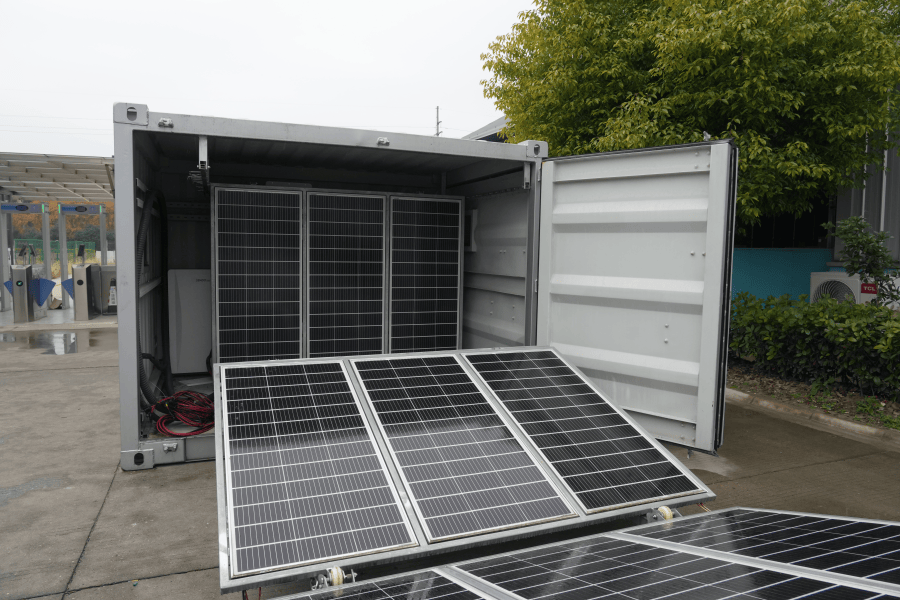
This is where the solution comes in, and it's elegantly simple: the Step-by-step Installation of IP54 Outdoor Pre-integrated PV Container. Think of it not as a pile of components, but as a "power plant in a box" designed specifically for tough environments. At Highjoule, we build these containers in a controlled factory setting. Inside that IP54-rated steel shell, the battery racks, inverters, thermal management system, and safety controls are all pre-wired, pre-tested, and certified to standards like UL and IEC before it ever leaves our dock.
For you, the farmer or project developer, this changes everything. The installation shifts from a complex engineering feat to a streamlined, predictable process. The risk moves from your field back to our factory floor, where we have the tools and expertise to manage it. Honestly, it's the difference between building a house from lumber vs. installing a well-made modular home.
A Real-World Walkthrough: From Delivery to First Drop
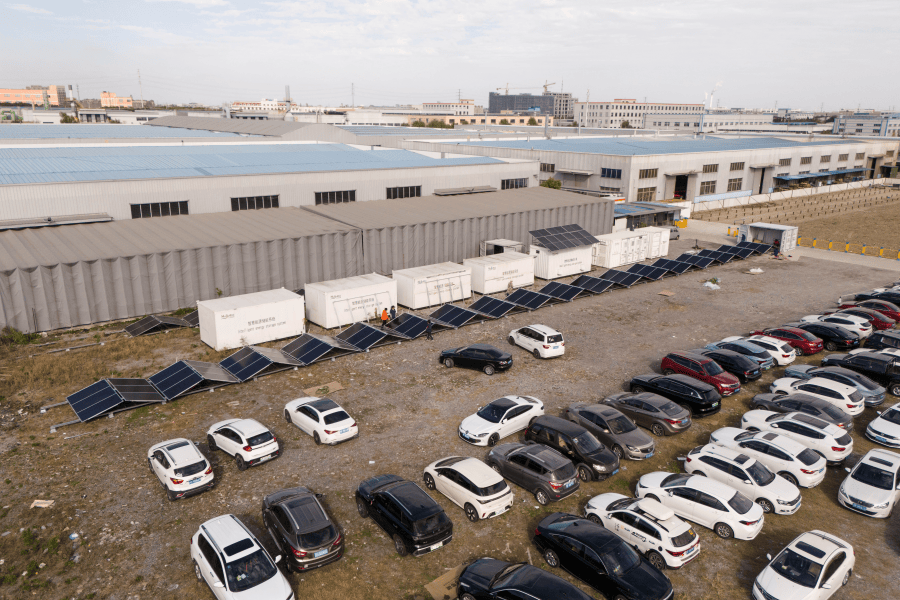
Let me walk you through what this step-by-step installation actually looks like, based on a project we did for a mid-sized almond farm in California's San Joaquin Valley. Their challenge was peak shaving to avoid demand charges and ensuring irrigation pumps could run during Public Safety Power Shutoff (PSPS) events.
Step 1: Site Prep & Foundation (Days 1-2)
While the container was in transit, the local crew prepared a simple, level gravel pad or concrete slab - no different than what you'd need for a shipping container. The key here is planning conduit runs for the AC and DC connections from your solar array and to your pump control panel.
Step 2: Delivery & Placement (Day 3)
The unit arrived on a standard flatbed truck. Using a crane or a heavy-duty forklift, the container was lifted and set onto the prepared pad. This took about half a day. Because it's a single, self-contained object, the visual impact and footprint are minimal.
Step 3: The "Plug-and-Play" Connections (Day 4)
This is where the pre-integration pays off. Our field technician, alongside the local electrician, focused on just a few key connections:
- AC Grid Tie-In: Connecting the pre-installed inverter output to the main distribution panel.
- DC Solar Input: Linking the combiner box from the PV array to the container's DC bus.
- Critical Load Output: A dedicated line to the irrigation pump control system.
The internal wiring - the miles of it that cause headaches in field-built projects - was already done and tested.
Step 4: Commissioning & Go-Live (Day 5)
With the physical connections made, we powered up the system. The pre-loaded software was configured for the farm's specific tariff schedule and irrigation load profile. Final functional and safety checks were performed, and the system was handed over to the owner. From site work start to operational power was under a week.
The Expert Corner: Beyond the Bolts and Wires
As an engineer, what gets me excited about this approach isn't just the faster install. It's the performance and economics baked into the design. Let me break down two key points in plain English:
Thermal Management is Everything
Batteries hate extreme heat and cold. In a factory-built container, we can install a truly robust, sealed HVAC system that maintains the perfect temperature range for the cells, vastly extending their life. In a dusty farm environment, this is critical. A field-built system often struggles with consistent cooling, leading to faster degradation. Better thermal management directly lowers your Levelized Cost of Energy (LCOE) - the total lifetime cost of the energy your system produces.
C-Rate and Your Irrigation Pump
Your irrigation pump has a big motor with a high starting surge. The battery system needs to deliver that burst of power instantly. The "C-Rate" is, simply, how fast a battery can charge or discharge. We spec the battery chemistry and inverter size in our pre-integrated units to match these agricultural load demands, ensuring the pump starts smoothly every time, without stressing the battery. It's this kind of application-specific engineering that happens upfront in our design phase, not as a problem-solving exercise in your field.
Your Next Step: Is This Right For Your Operation?
The step-by-step process for an IP54 pre-integrated container demystifies solar storage for agriculture. It turns a capex project with unpredictable soft costs into a known quantity with a clear timeline. The value isn't just in the hardware; it's in the certainty.
At Highjoule, our focus is building that certainty into every unit - with the safety certifications (UL, IEC), the durable enclosure, and the local service support you need for the long haul. So, next time you look at your energy bill or worry about the next grid alert, ask yourself: Is the complexity of a traditional build the real barrier? Or is there a simpler, more robust way to power your water and your business?
What's the one question about energy reliability that keeps you up at night for your farming operation?
Tags: UL Standard BESS LCOE Europe US Market Agricultural Irrigation
Author
James Zhang
20+ years agricultural energy storage engineer / Highjoule CTO